(For broom-finished concrete)
Method
1, Before treatment
The surface before treatment.

2, Condition of the repair material
Knead Repair Resin with less amount of water to make it crumby. *If the material is too runny, it may stain the surface.

3, Filling the crack
Take a small amount of Repair Resin with your finger and fill in the crack with a fingertip. *Make sure to use your finger. *For a better result, rub in the material from a vertical angle.

4, Scraping
Once the crack is filled with Repair Resin, use a wire brush (stainless), etc. to scrape off the excess material.

5, Drying
Let Repair Resin dry.

6, Finishing process 1
Use a plastering brush to sweep off the scraped dregs and blend to the surface. *Once the crack disappears, the process is completed. *If the crack is still visible, please do 7.

7, Finishing process 2
Apply Repair Resin in powder form on the crack.

8, Finishing process 3
Use a plastering brush to blend the powdered Repair Resin to the surface until the crack becomes invisible. *If the crack is still visible, repeat the process from 7.

9, Finished look
The surface should look like this once completed.

Tools to prepare
- Trowel(1〜2mm)
- Bowl
- Wiping cloth
- Gas torch
- Wire brush
- Plastering brush
Materials to prepare
- Repair Resin
- Water
Notes
- All Repair Resin products are pre-mixed and only use water for kneading. Please note that the curing time and color may differ if any adhesives are mixed.
- Once it’s mixed with water, please use it all. Re-watering or kneading once curing has started may cause cracks and poor adhesion.
- Because it’s cement-based, it is subject to weathering and moisture absorption. Please store with care and use as soon as possible. (The 5kg inner bag is heat-sealed to improve shelf life. Please use the rubber band attached for sealing any leftover products.)
- When repairing, remove the excess unevenness of the surface beforehand with a hammer, chisel, scraper, etc., and clean it. If the mold releasing agent remains on the surface, it’ll peel off easily. Use a brush to scrub the surface and moisten it with water for the best results.
- Please be careful when handling a scraper or a metal trowel, as they may cut your hand.
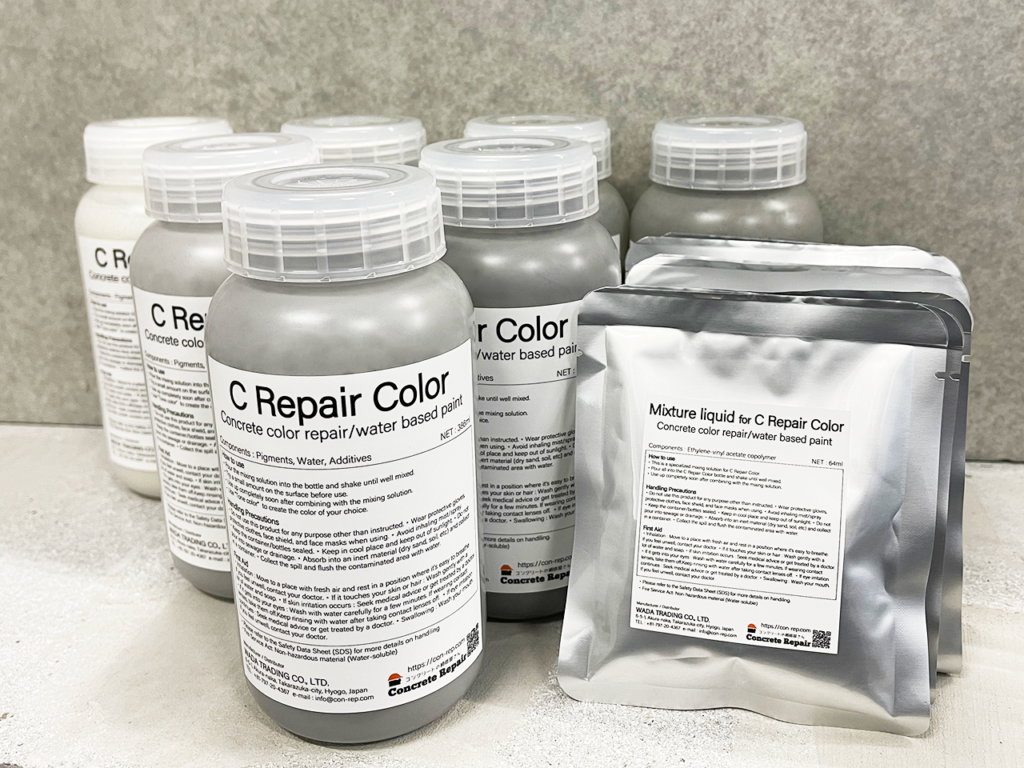
- Please read the instructions and notes of C Repair Lining and C Repair Color.
- After adding the Mixing Liquid into C Repair Color, please use it all within 24 hours.
- Cover and protect the area where you don’t wish to spray paint beforehand.
- If it adheres to any unwanted area, wipe it off with a wet wiping cloth.
- Please make sure to mix C Repair Color thoroughly before use. If it’s not fully mixed, it may cause unevenness.
- Spray C Repair Color little at a time in thin layers. If you spray too thickly at once, it may drop, and the finished look will not look as good. Please repeat the process of “Spray → Dry → Spray” until the surface is fully covered.
- When adding patterns, tap lightly and inconsistently according to the surrounding patterns.
- This treatment is for cracks on a flat surface. If the cracks are on uneven surfaces or to fix water leakage, please refer to “V cut treatment”.
Leave a Reply