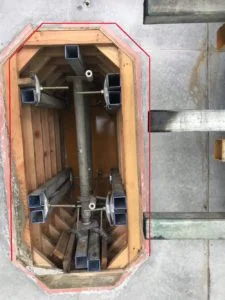
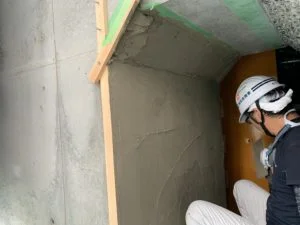
This time, the formwork slipped when pouring the concrete, so we put the tilted part back in place.

I think you can see that it leans a little to the left.
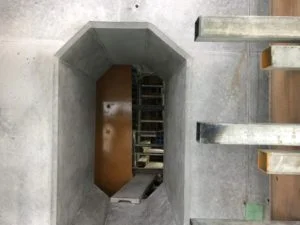
↓The correct line is the red line.
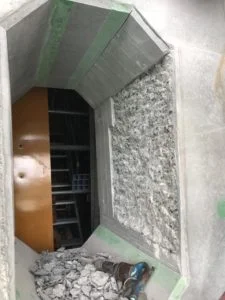
First, insert a cutter and chip on both sides.
Then, in order to get the correct position, the frame is assembled with crosspieces based on the joints of the formwork.
(The right side of the crosspiece will be the finished surface.)

Remove dust and debris from the rough surface with a blower,
①Apply ALPRON W-305 to the entire surface.
② When W-305 becomes a little sticky,
Apply a polymer cement-based cross-section repair material.
(The material is kneaded to a hardness that does not sag.)
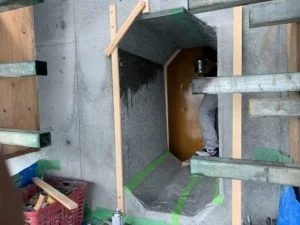
③Place it a little higher than the finished surface, and slide it against the frames on both sides with another crosspiece to flatten it.
(Be careful not to let air in)
④After hardening, smooth the entire surface with a “Level Grinding Wheel #36”.

Cut out the line for the chamfering strip part as well.
⑤ After polishing, remove dust with a blower.
Up to this point, the general flattening has been completed, so from here, we will fix minor steps and the like.
⑥ Spray “Royal W21” diluted solution (3 to 5 times) as a primer.
⑦ Softly knead “Repair Resin #45” and apply on the entire surface with a trowel.
(With the image that the material remains only in the dented part)
⑧Remove excess material and burrs with a “Level Grinding Wheel #80”
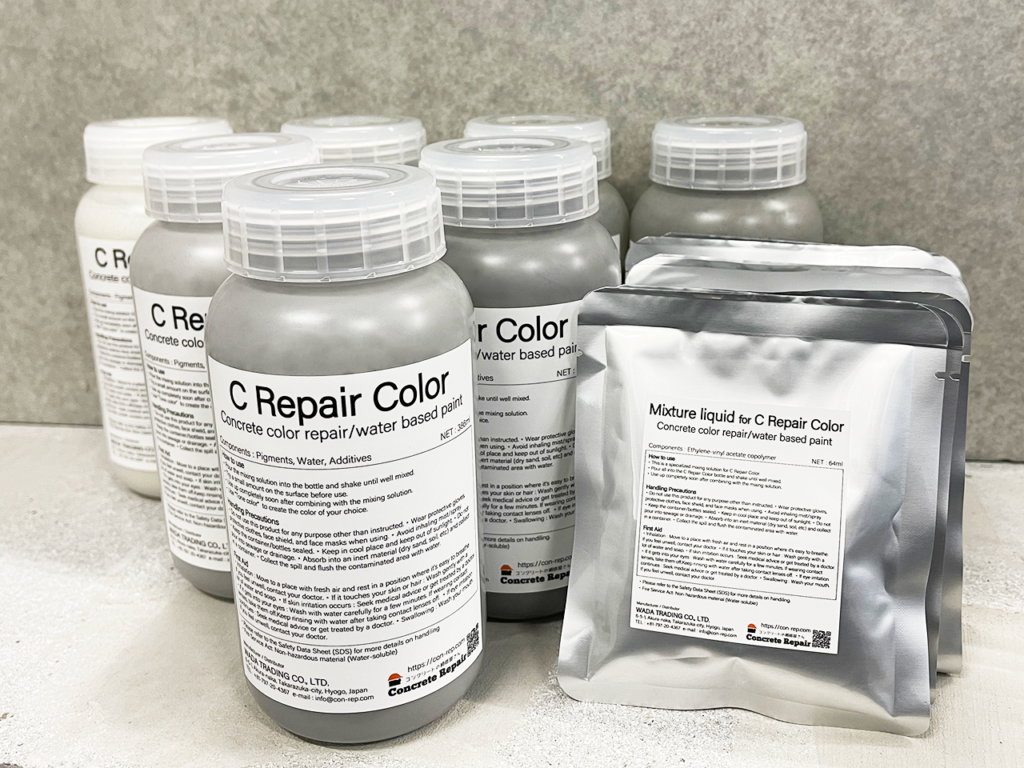
⑨Apply a thin layer of “C Repair Lining” to the entire surface.

By this stage it is already perfectly flat.
Now let’s add some color.
⑩ “C Repair Color #3 dark gray” sprayed on the entire surface 3 to 4 times.

⑪ “Tone Color black/yellow” Create 4 different shades of color and add a pattern.

Rub well with the back side of #600 paper to restore the luster.
That’s all.
↓Construction completed

Not only is it strong and durable, but it has a perfect flat surface, so it has a glossy feel!
If you have any questions, please contact us.
https://con-rep.com
Leave a Reply