This time, we repaired the part where there was a difference in level the retaining wall.
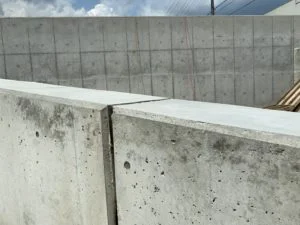
The situation before construction,
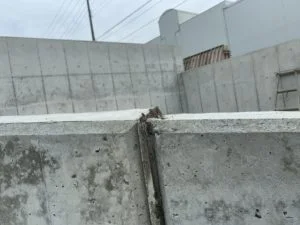
↑One side of the upper part (left) rises above the standard height,
One side of the lower part (right) was lowered.

In order to match the standard height, the upper part is scraped off, and the high-strength resin mortar “Alpron HM” is added to the lower part.
Make small cuts on the surface for better adhesion and clean after chipping.
↓Apply ALPRON W-305 as an adhesive, and add ALPRON HM to match the frame to the standard height.
↓After hardening completely, polish the surface with a diamond cup.

Polish while checking the level using a level and clean.
Next, knead the “Repair Resin” so that it becomes thick and rub it lightly on the surface.
When the “Repair Resin” is completely dry, polish it with a #80 “Level Grinding Wheel” to smooth it out.
After cleaning, to prevent efflorescence, apply a thin layer of “C Repair Lining” and blur the edges with paper.
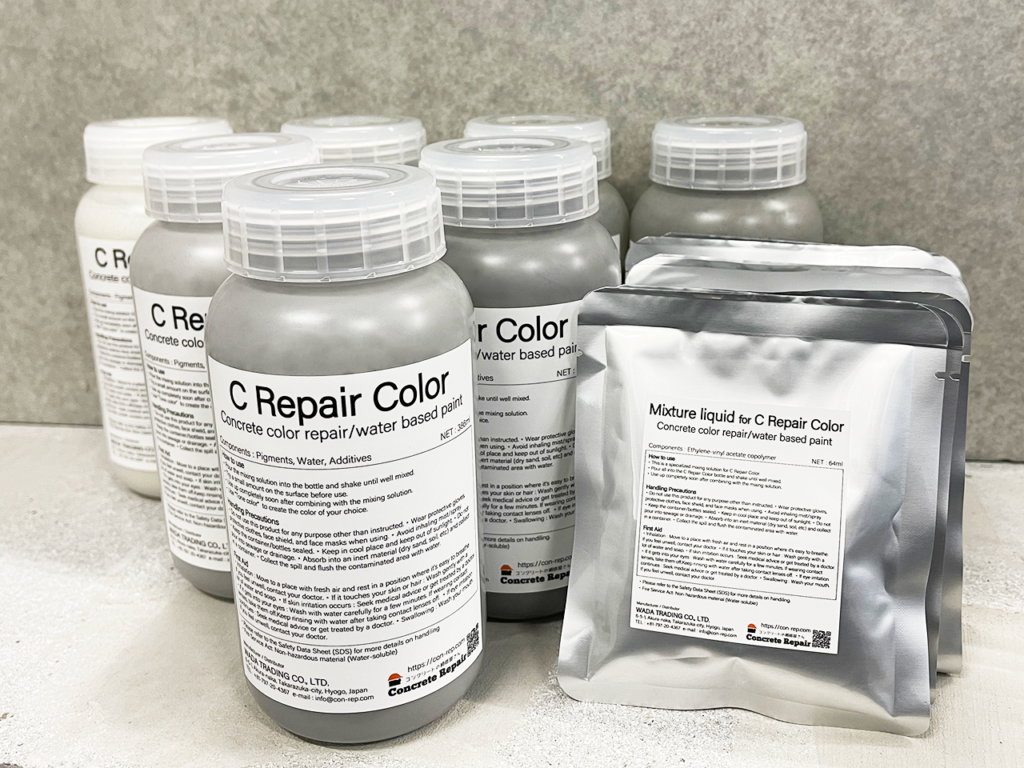
After that, spray “C Repair Color”, add a pattern and you’re done!
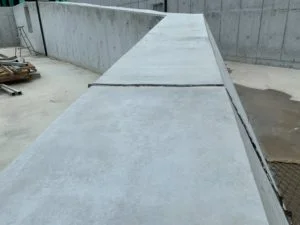
After construction
if you have any questions, please contact us.
info@con-rep.com
https://con-rep.com
Leave a Reply