Method
1, Before rust treatment
How it looks before treating.
2, Color adjustment
Use C Repair Color that matches the surface and check it on an inconspicuous area. *Use multiple C Repair Color or Tone Color to create the color you want.
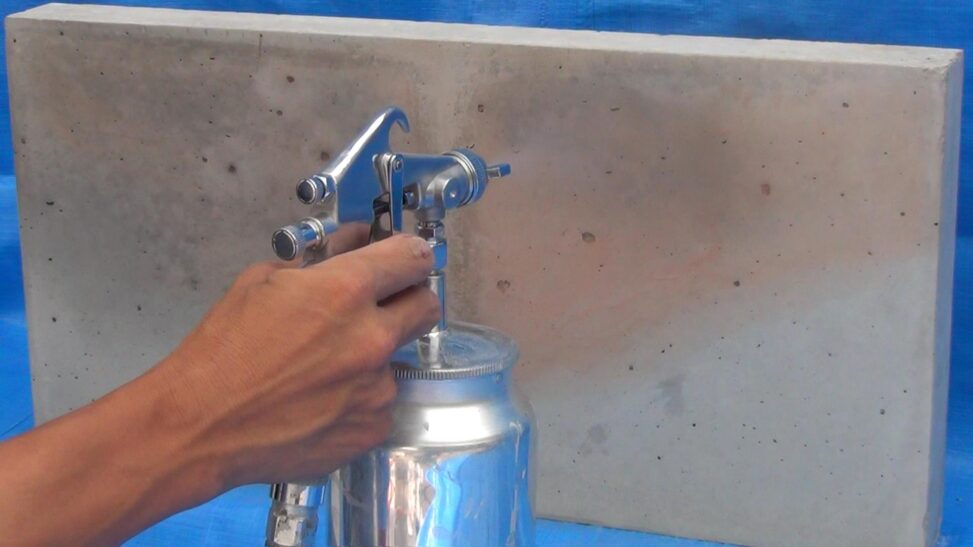
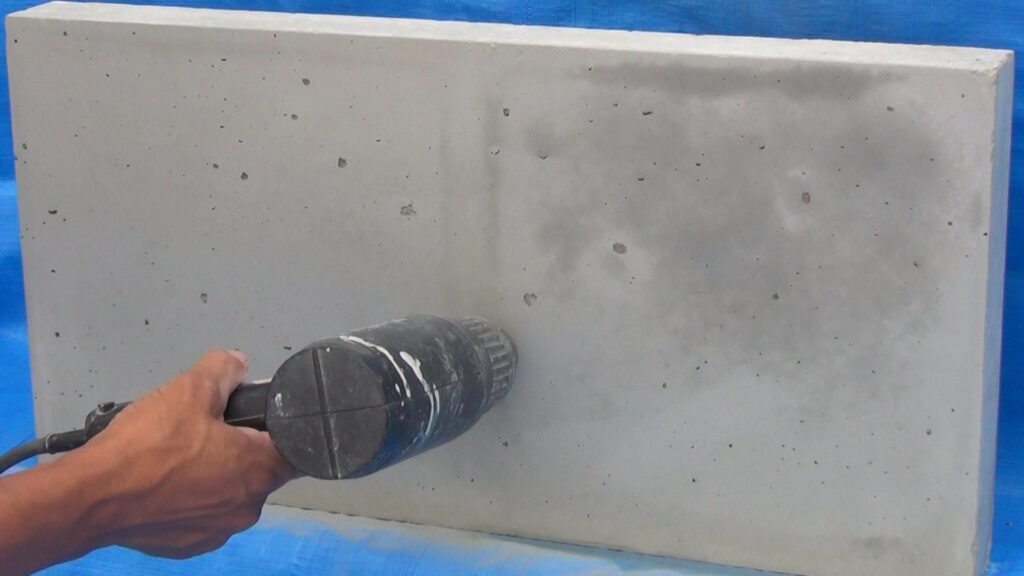
3, Spraying
Spray a thin layer on the rusted area. Be careful not to spray too much at a time.

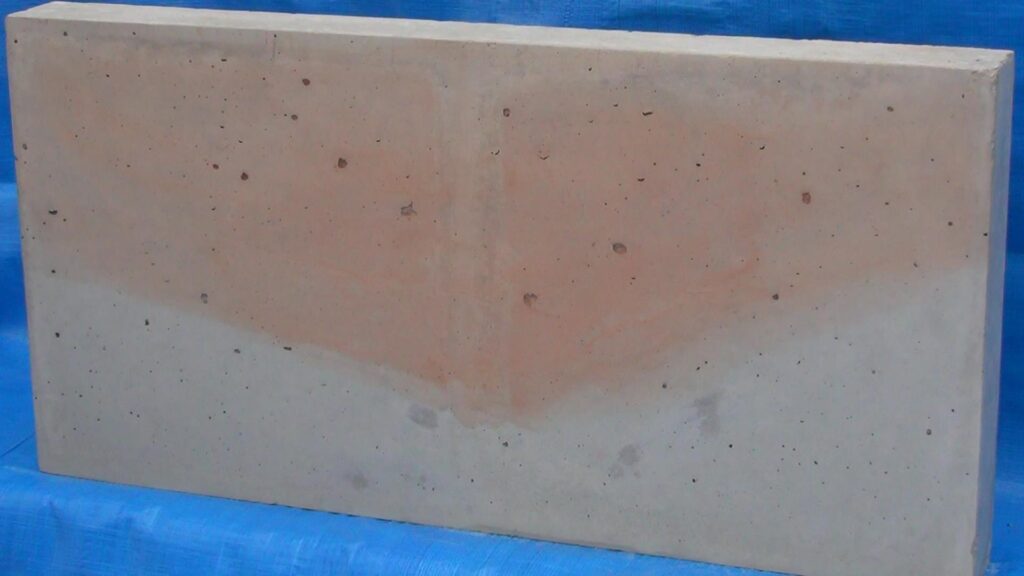
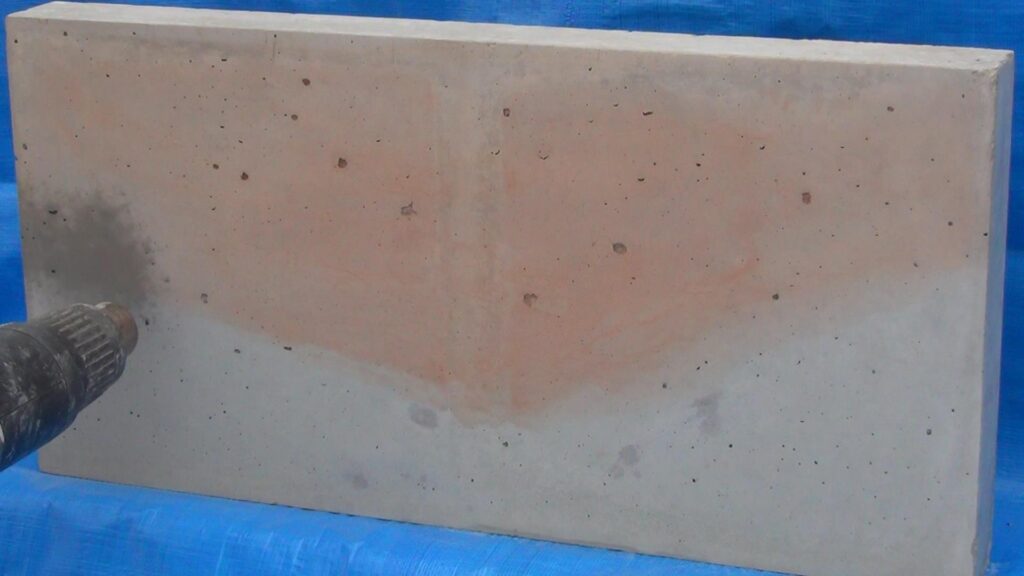
4, Check the color
Check to see if the color matches once dried. Repeat spraying, drying and spraying until the rust is fully covered. Lightly rub with #600 sandpaper from time to time to blend.
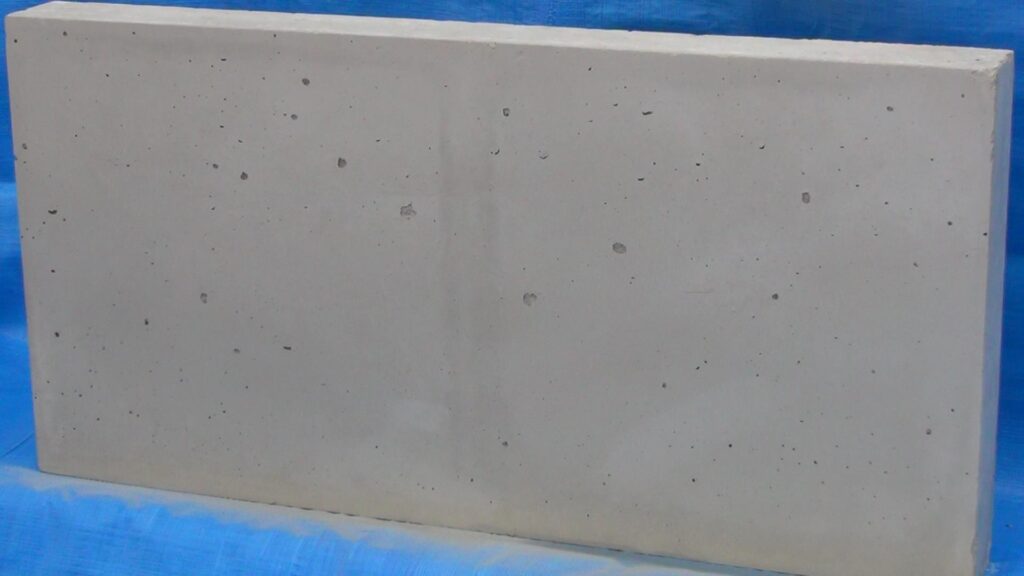
5, Finish spraying
Now the rust has disappeared.
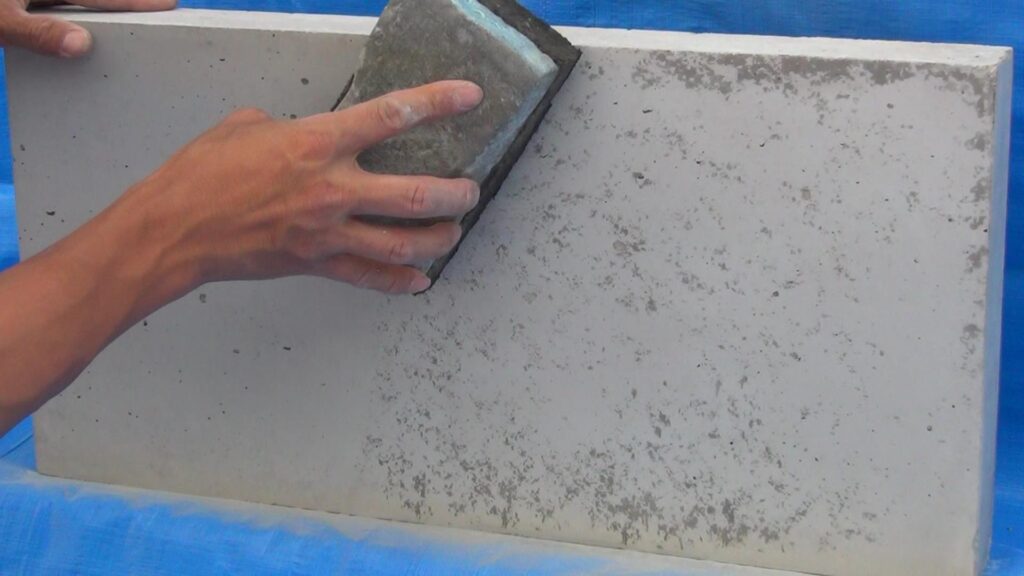
6, Adding patterns
Use Tone Color to create patterns and restore the natural textures.
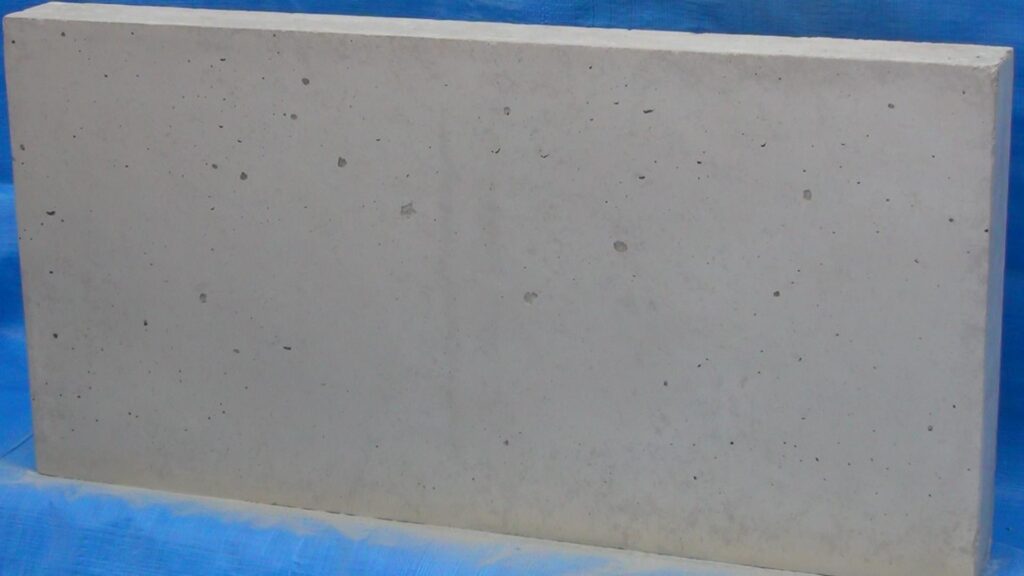
7, Finished look
The process is completed once the rust stains are gone and look natural.
What to prepare
- Small bucket
- Brush
- Waterproof sandpaper #600
- Wiping cloth
- Wagner FLEXIO 570
- Air compressor
- Air hose
- Air gun
- Pattern Pad
- Gas torch
Materials to prepare
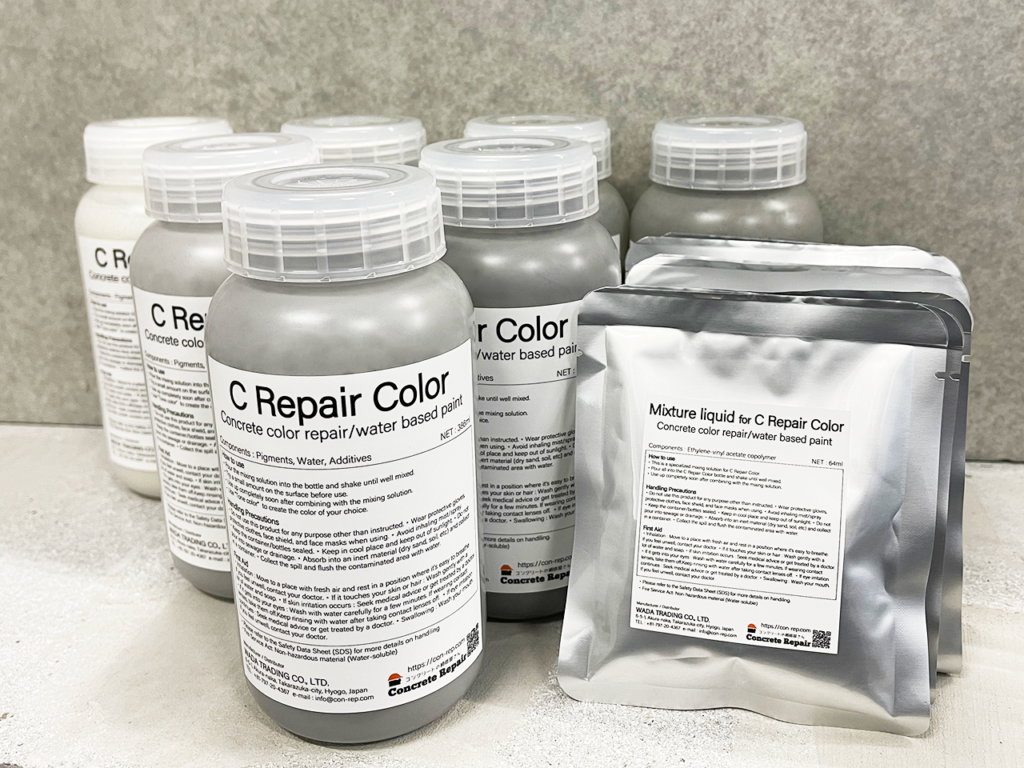
- C Repair Color
- Tone Color
- Water
Notes
- All Repair Resin products are pre-mixed and only use water for kneading. Please note that the curing time and color may differ if any adhesives are mixed.
- Once it’s mixed with water, please use it all. Re-watering or kneading once curing has started may cause cracks and poor adhesion.
- Because it’s cement-based, it is subject to weathering and moisture absorption. Please store with care and use as soon as possible. (The 5kg inner bag is heat-sealed to improve shelf life. Please use the rubber band attached for sealing any leftover products.)
- When repairing, remove the excess unevenness of the surface beforehand with a hammer, chisel, scraper, etc., and clean it. If the mold releasing agent remains on the surface, it’ll peel off easily. Use a brush to scrub the surface and moisten it with water for the best results.
- Please be careful when handling a scraper or a metal trowel, as they may cut your hand.
- Please read the instructions and notes of C Repair Lining and C Repair Color.
- After adding the Mixing Liquid into C Repair Color, please use it all within 24 hours.
- Cover and protect the area where you don’t wish to spray paint beforehand.
- If it adheres to any unwanted area, wipe it off with a wet wiping cloth.
- Please make sure to mix C Repair Color thoroughly before use. If it’s not fully mixed, it may cause unevenness.
- Spray C Repair Color little at a time in thin layers. If you spray too thickly at once, it may drop, and the finished look will not look as good. Please repeat the process of “Spray → Dry → Spray” until the surface is fully covered.
- When adding patterns, tap lightly and inconsistently according to the surrounding patterns.
Leave a Reply