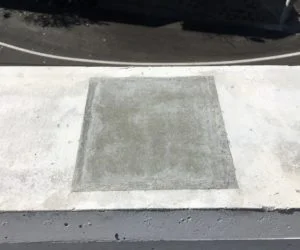
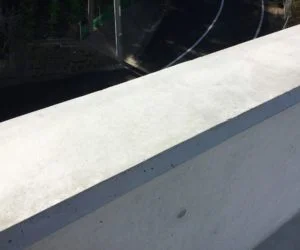
This time, we repaired the non-shrink mortar placement mark on exposed concrete.
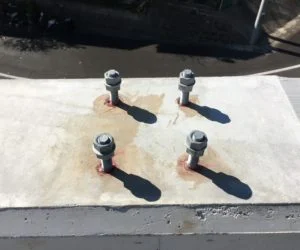
↓Because the position of the bolt was wrong, the part where non-shrinking mortar was placed after removal
I would like to fix this.
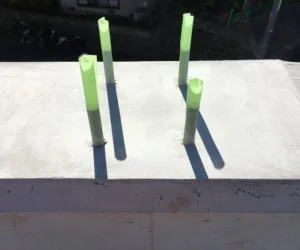
↓ The situation where the bolt was installed with a chemical anchor at the regular position
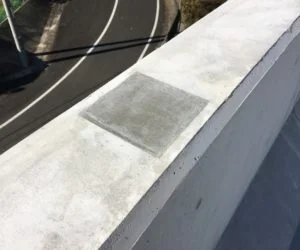
It also finishes beautifully.

First, grind the non-shrinking mortar with a Level Grinding Wheel #36.
⇒ Flatten and apply a thin layer of Repair Resin to the entire surface.
※Tips : Since it is not glossy, do not use Repair Lining, just apply a thin coat of Repair Resin to cover the entire surface.
After it dries completely, lightly rub it with #600 paper to blend it in.
Finally, just spray the color-adjusted C Repair Color and add a pattern with Tone color and Pattern Pad.
※Tips : If you try to erase only the repaired part (a narrow range), it will stand out. By spraying a little wider, it will blur the boundary line.
By doing this, you can erase the repaired area with a good looking.
After repair
12 locations in total
Duration: about 2 hours


Thank you for reading this blog. If you have any questions, please contact us.
https://con-rep.com
Leave a Reply